Fish Radar is currently documented at Moosewood, Roslit Bay, and Terrapin Island. Choose the island already on your route, use coordinates only to confirm arrival, and rely on dock or Shipwright landmarks for the final search.
Choose One of the Three Seller Routes
All three sellers provide the same permanent tool. You do not need to buy one at each island, and a radar bought at Terrapin is not stronger than one bought at Moosewood.
| Island | Useful arrival reference | Best landmark | When to choose it |
|---|---|---|---|
| Moosewood | 400, 135, 250 | Large rock beside the dock | First purchase or no boat route needed |
| Roslit Bay | -1600, 130, 500 | Dock and Shipwright side of the island | You are already fishing or shopping at Roslit |
| Terrapin Island | -95, 130, 1875 | West-side Shipwright and shop area | You are already on the Terrapin route |
These are island arrival coordinates, not a promise that the item will sit on that exact pixel. Props and shop placements can move in updates, while the island reference remains useful for navigation. Once the island name appears, stop steering by the coordinate and use the local landmark.
Moosewood Purchase Route
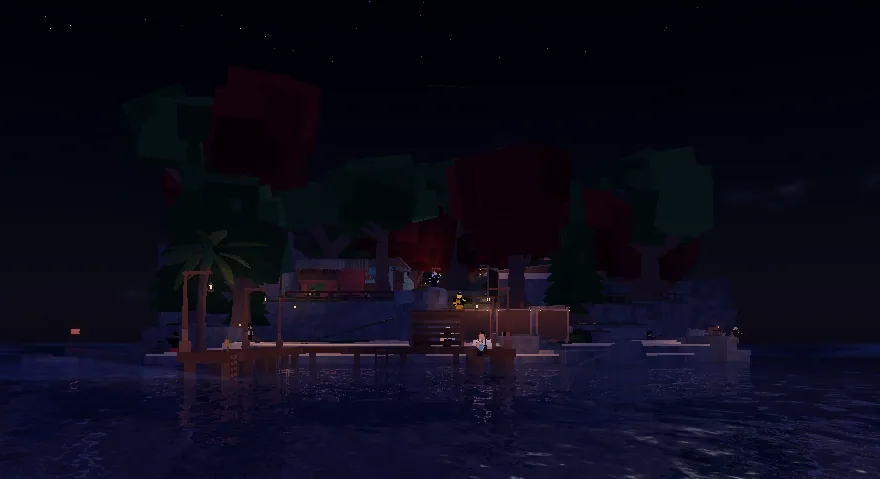
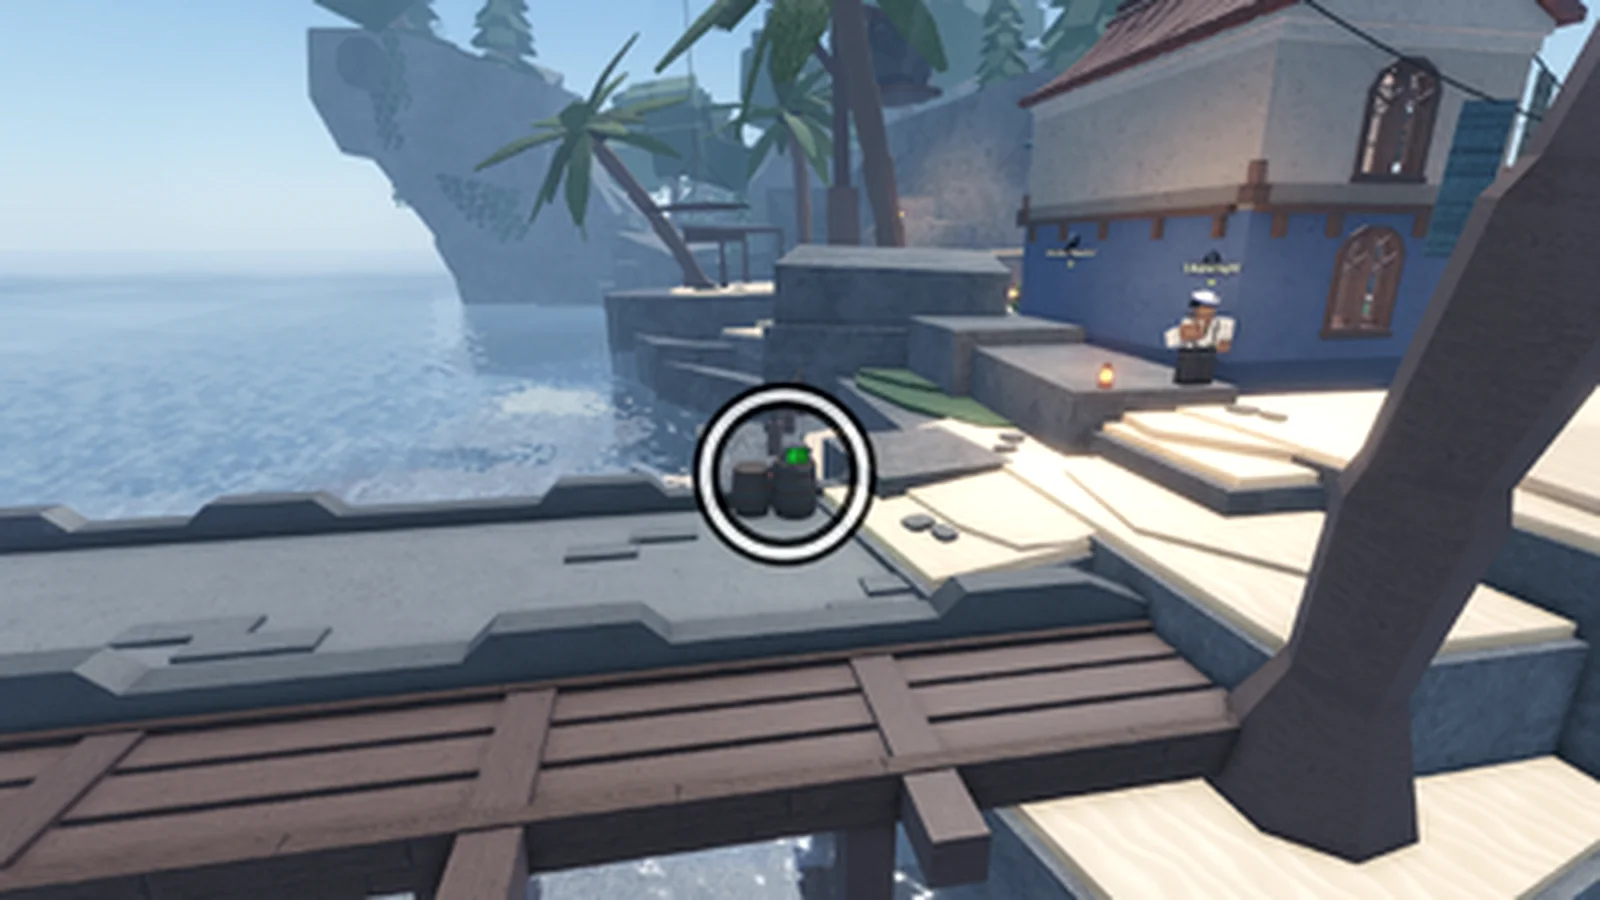
Moosewood is the default recommendation for a new account. Return to the starting island and head to the harbor. Look for the Shipwright and the large rocks beside the dock; current references place the Fish Radar on one of those rocks.
The route requires no hidden cave, quest completion, or late-game access. Bring 8,000 C$, inspect the item name before buying, and confirm that the tool appears in your backpack. If you are still saving, continue the normal catch-and-sell loop instead of sailing between all three islands hoping for a discount.
After purchase, equip the radar and toggle it once. The enabled message confirms the tool is active. You can switch back to your rod without losing the visible abundance labels.
Roslit Bay Purchase Route
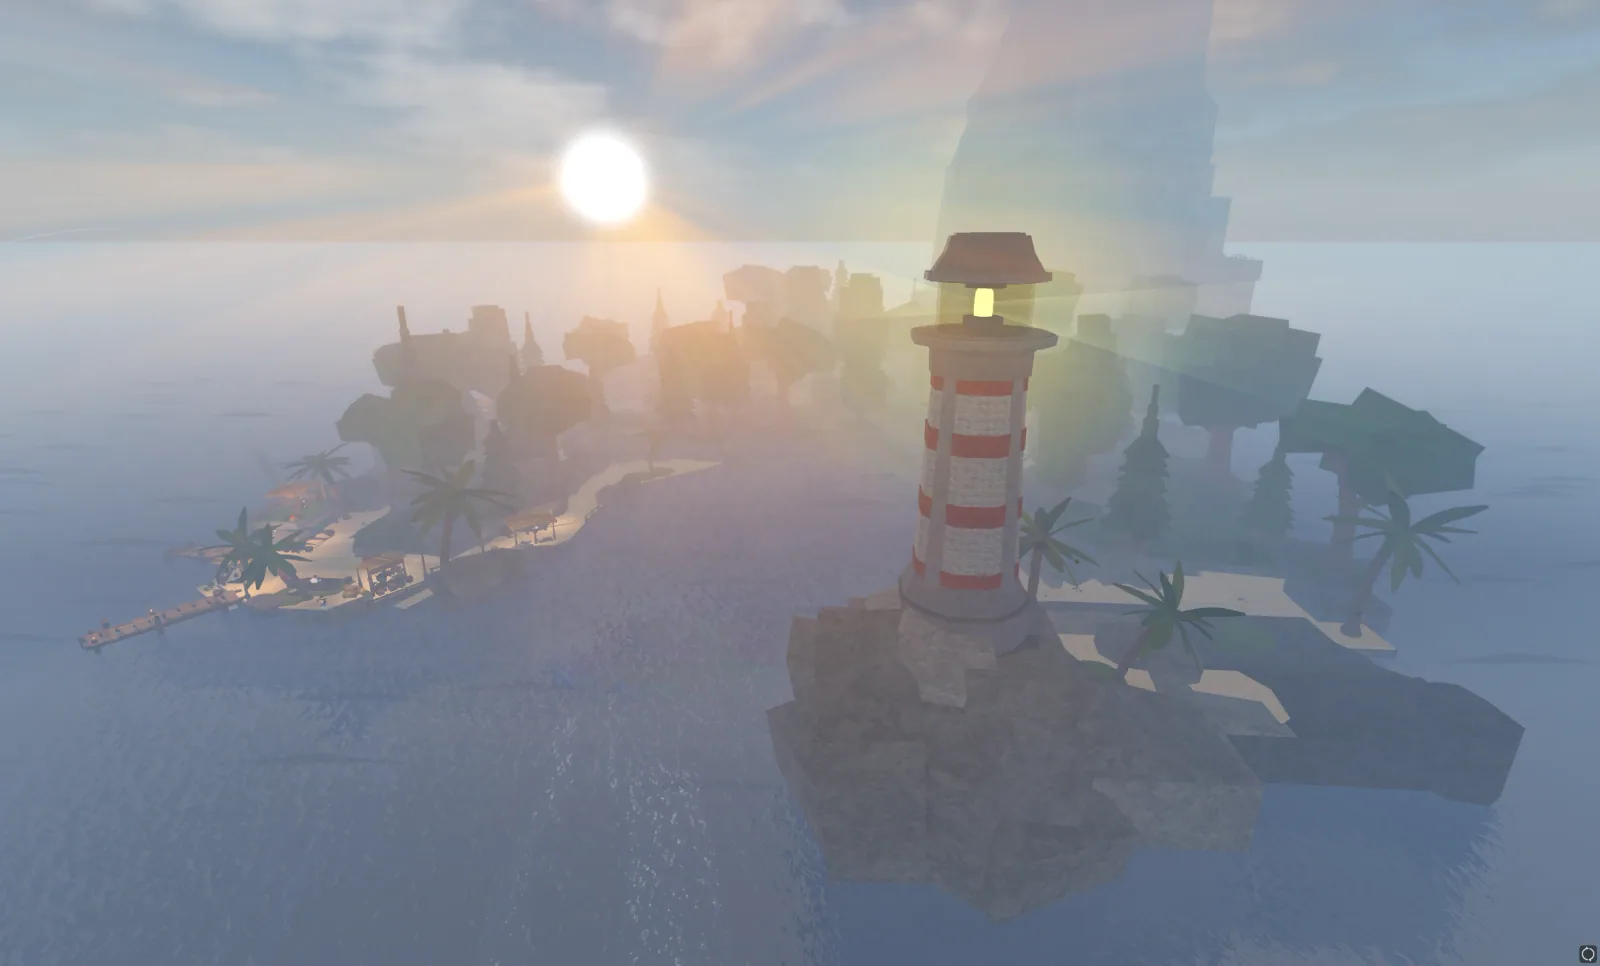
Roslit Bay is practical when your current objective already takes you there. Sail toward the island reference around -1600, 130, 500, enter the dock area, and search near the normal Shipwright and seller landmarks.
Do not make the Roslit trip solely because a guide implies a different radar model exists there. The price and function are currently listed as the same. The value of this location is convenience: buy the item while handling a Roslit fish, blacksmith, rod, or travel objective.
If you cannot find the display, circle the dock on foot before searching inland. The radar is a harbor-side utility, not a volcano item. Also make sure you are in the correct sea and on the permanent Roslit Bay rather than following an old event route.
Terrapin Island Purchase Route
Terrapin Island's broad arrival reference is around -95, 130, 1875. Approach the island, then look for the western service area with the Shipwright. Current location references list Fish Radar among the utility items available there.
Terrapin is a sensible purchase when your fishing plan already uses the island or nearby waters. It is not the shortest first route from a fresh Moosewood spawn. Use the boat trip to combine tasks: purchase the radar, confirm it toggles, and then test the abundance labels around your actual target water.
Shallow rocks around Terrapin can make a straight-line approach awkward. Use the coordinate to reach the island, then navigate visually rather than driving directly toward a single number.
Use Coordinates as Arrival Checks
Fisch coordinates describe three axes. X and Z move you across the world; Y represents height. For a surface island purchase, the X and Z values do most of the navigation work. Your Y value changes with hills, docks, boats, and water level, so do not reject the correct island because the middle number differs slightly.
Use a GPS or the current coordinate display, sail until the X and Z values approach the island reference, and then follow the island name and landmark. Coordinates are a travel aid, not a substitute for checking the actual item model.
If the seller is missing after an update, verify these points:
- You reached Moosewood, Roslit Bay, or Terrapin Island in the correct sea.
- You searched the dock or Shipwright side rather than an unrelated fishing spot.
- You are looking for Fish Radar, not the smaller GPS tool.
- The live server has fully loaded the island props.
- A recent patch has not moved the item; rejoin once before assuming it was removed.
Avoid These Seller-Route Mistakes
- Using fish abundance coordinates as seller coordinates: A Walleye or Olm radar zone points to fishing water, not the Fish Radar shop item.
- Buying multiple units: Fish Radar is permanent and toggleable; one purchase is enough.
- Following Y exactly: Elevation changes around docks and rocks. Match the island first.
- Searching the whole island: Start at the dock and Shipwright landmarks.
- Confusing GPS and Fish Radar: GPS shows your coordinates; Fish Radar reveals abundance and hunt zones.
Check the Live Item Before Paying
The listed coordinates are navigation references for each island and can drift after map changes. Confirm the live item label and price before buying.
For setup and basic use, read How to Get and Use Fish Radar. Once the tool is active, continue with How to Read Fish Radar Abundance Zones so a visible label becomes a useful fishing plan rather than a guaranteed-catch assumption.