Fish Radar is a permanent toggle, not a guaranteed-catch device. Buy the actual radar once, activate it, move to a visible abundance label, and still satisfy the fish's time, weather, bait, season, and event conditions.
Buy the Correct Tool Once
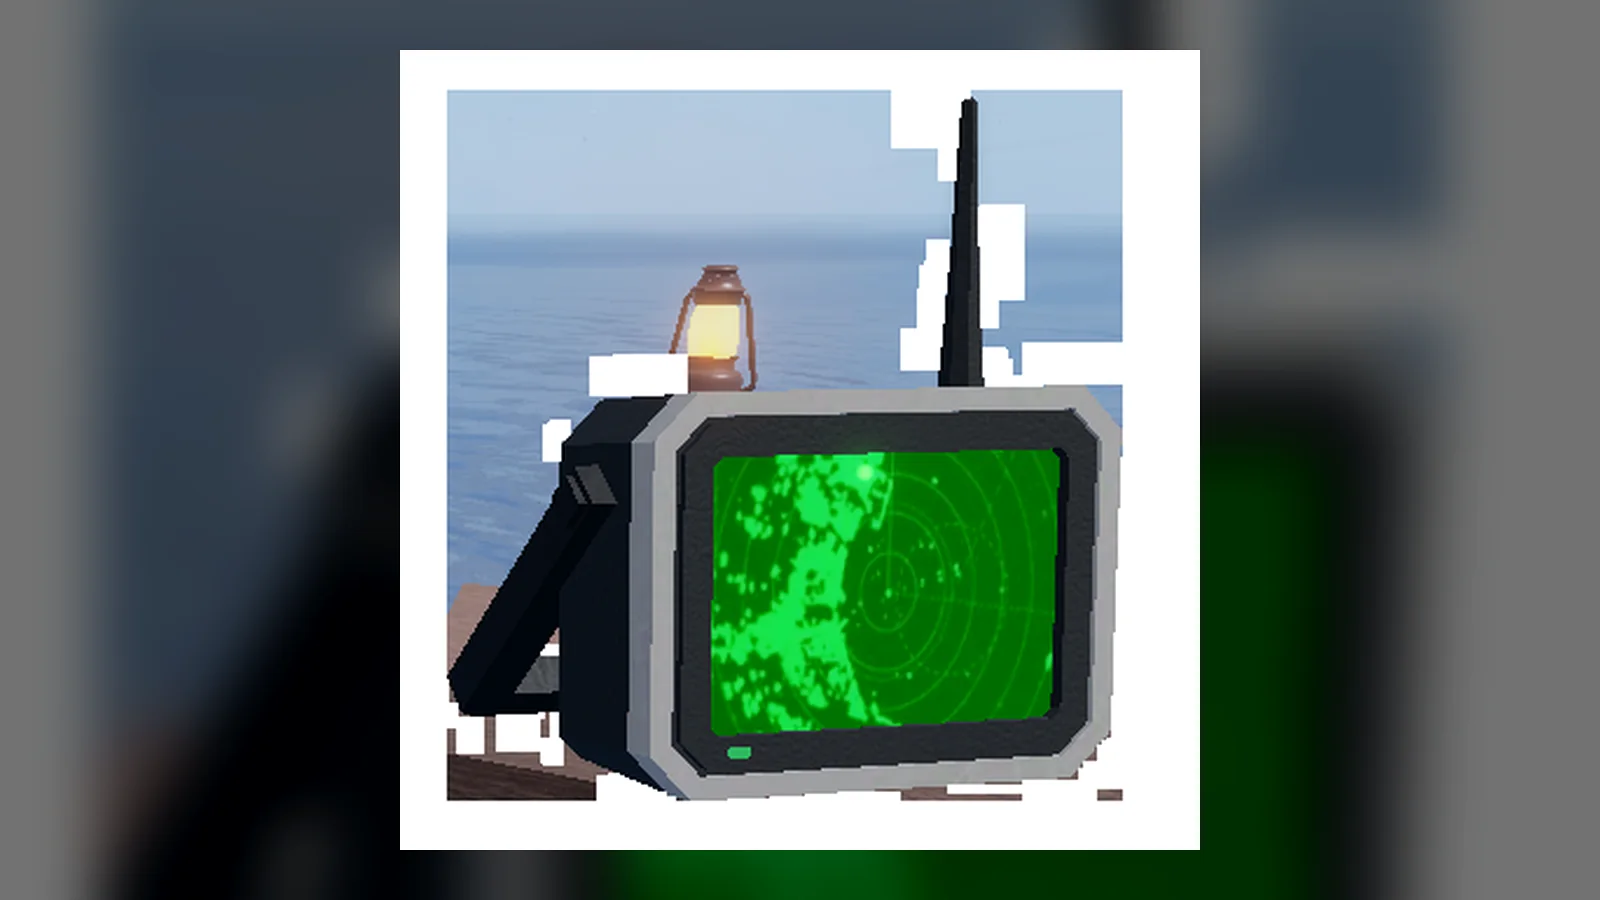
Travel to the Moosewood dock, find Fish Radar near the Shipwright, and buy it for 8,000 C$. Equip it from your backpack or hotbar and use your normal action input to switch it on. The radar reveals labeled abundance areas that help you choose where to cast.
Choose a Seller Route
Moosewood is the easiest place to get the Fish Radar, especially for a newer player. Head toward the dock and look around the Shipwright area. The radar is positioned close to the harbor, so you do not need to complete a puzzle, enter a hidden cave, or unlock a late-game zone first.
The purchase price is 8,000 C$. If you are short on cash, keep fishing and selling your catches until you can afford it. The radar is more useful once you are actively hunting specific fish, but buying it early can save time because it shows where abundance areas appear.
Other references also list Fish Radar purchase points at Roslit Bay and Terrapin Island. Moosewood remains the simplest route because both the dock and Shipwright provide an easy landmark. Use the Fish Radar locations and coordinates guide when you need all three seller routes rather than the basic first purchase.
Toggle It and Find a Visible Label
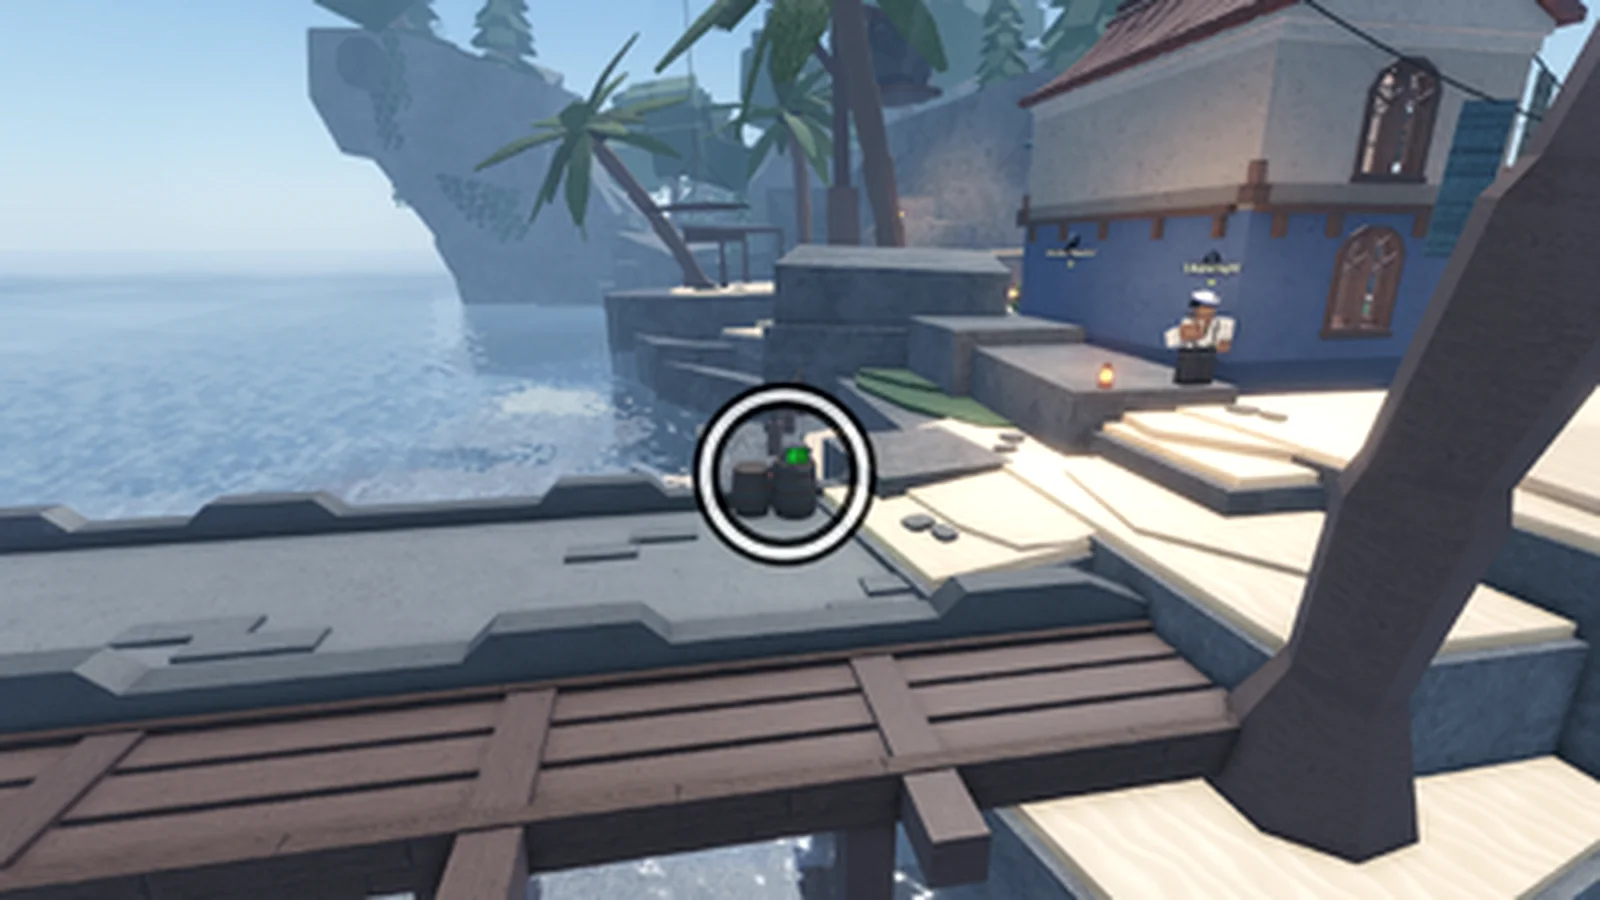
After buying the item, open your backpack and move Fish Radar to a convenient hotbar slot. Equip it, then use the normal action input for your device. On PC, this is the same primary interaction you use with other held tools; mobile players can use the on-screen action control.
When the radar activates, Fisch displays an enabled message and begins showing labeled abundance or hunt areas. You can then switch back to your fishing rod and use those labels to decide where to cast. Equip the radar and use the action input again whenever you want to turn it off.
If nothing appears immediately, move around the island or sail toward another fishing area. The radar reveals relevant zones that exist around you; it does not create a new abundance zone every time it is activated.
Combine the Zone With Fish Conditions
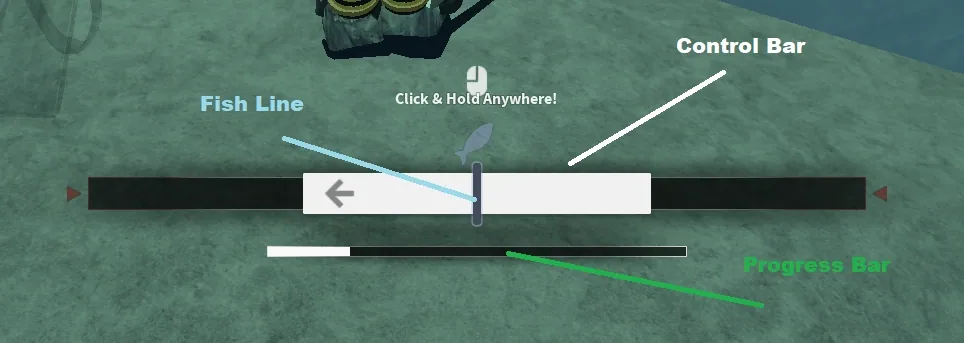
A radar label means that a particular fish or object is more likely to appear in the marked water. Cast inside that zone when you are hunting the named target.
The label is not a guaranteed catch. Fish can still require the correct:
- time of day;
- weather;
- season;
- bait;
- rod or event conditions.
For example, standing inside the correct abundance area will not override a nighttime or weather requirement. Treat Fish Radar as a location tool: it tells you where to try, while the Bestiary and the target's conditions tell you when and how to fish there.
Event hunts and special abundance areas may also appear through the radar. These zones are especially useful because they make a temporary fishing location easier to identify, but the normal event rules still apply. The abundance-zone guide owns moving hunts, empty labels, and condition checks in detail.
Troubleshoot Before Buying Again
Run through this quick check before assuming the Fish Radar is broken:
- Confirm that you purchased the actual Fish Radar.
- Equip it from your backpack or hotbar.
- Use the action input and look for the enabled message.
- Move near open fishing water and look for labeled zones.
- Check the target fish's time, weather, bait, and event requirements.
If a label is visible but the fish does not bite, the radar is probably doing its job—the missing requirement is likely related to the fish rather than its location. Avoid repeatedly toggling the item and expecting it to force a catch.
The practical loop is simple: buy Fish Radar at Moosewood for 8,000 C$, activate it, locate the correct labeled water, then satisfy the remaining catch conditions before casting.